Since PleasureLand RV Center is the RV dealership Minnesota relies on for everything RV related, we thought we would really go out on the edge. We thought we would look for those unusual, weird, wild, and wacky places Minnesota has to offer that can make for some interesting trips. Are you ready to explore the odd side of our state? Here we go!
The Jolly Green Giant – Since 1979, the Jolly Green Giant has stood watch over Blue Earth, Minnesota. The town used to be home of a Green Giant vegetable canning plant, and originally the 55 foot statue was designed to lure travelers into town from I-90. Sadly, no land owner near the freeway offered property for the giant statue, and he was placed a mile away near the fairgrounds in Blue Earth. Perhaps even sadder is the canning plant is no longer operated by Green Giant. You can climb up close to his size 78 shoes to this day though and get a picture.
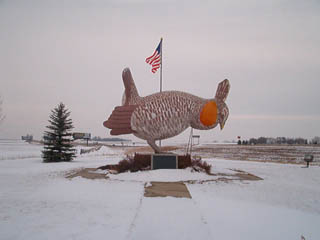
World’s Largest Prairie Chicken – Rothsay, Minnesota, is home to this “booming” chicken. Booming means he is puffing out the big orange sacks on each side of his neck. At thirteen feet tall and 9,000 lbs. this guy would make for a great barbecue. As he stands he mostly serves as a great place for gag photos.
World’s Largest Ball of Twine – What would you get if you rolled twine for 4 hours a day for 29 nears? Yep, a BIG ball of twine. In fact, the World’s Largest. Actually it has been clarified as the “World’s Largest Ball of Twine Rolled by One Man.” Folks in Kansas have one bigger, but they allow visitors to add to it daily. The folks in Darwin, Minnesota, are pleased with their record holder.
Paul Bunyan and The Blue Ox – Perhaps Minnesota’s most famous oddity, the lumberjack and his ox friend stand in Bemidji, Minnesota. Paul stands at 18 feet and is estimated to weigh in at 2.5 tons. He’s been standing there proudly for a while, since 1937. His blue buddy joined him in 1939.
PleasureLand RV is all about having fun in the great outdoors and hope you enjoy these oddities right in our own backyard!
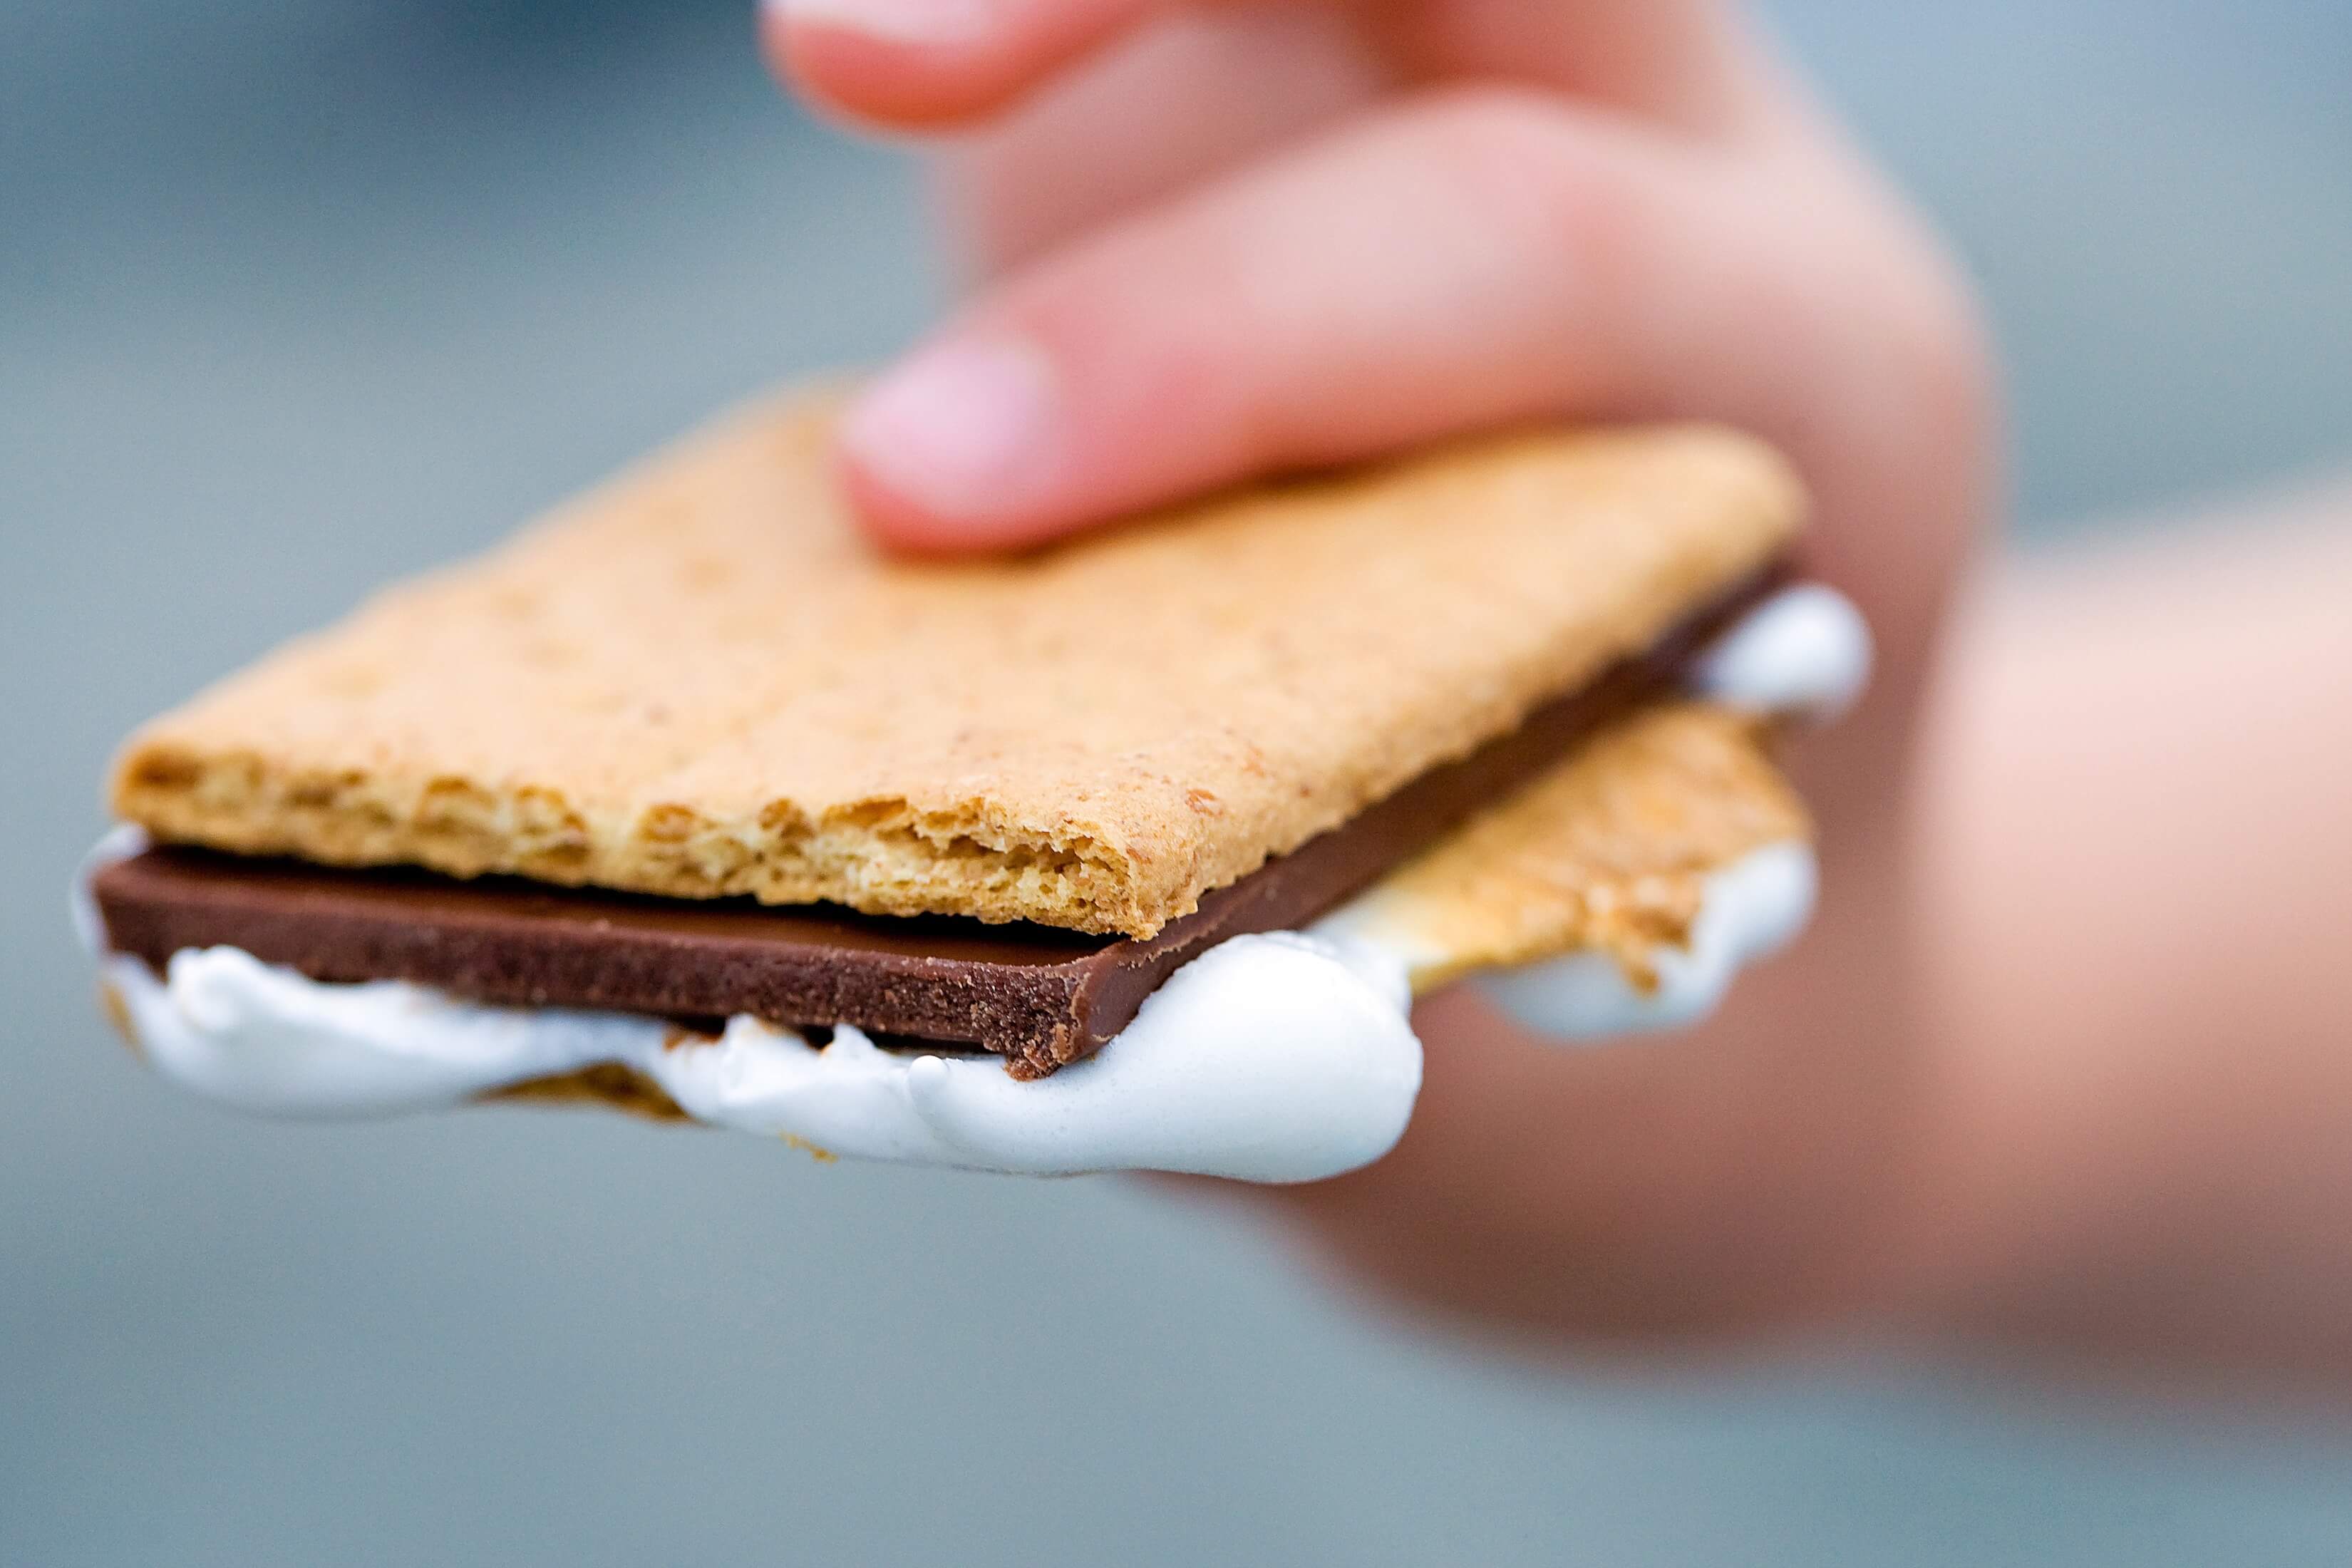
For chocolate lovers, August 10 is the day for celebration as the scrumptious, creamy, luscious treat known as s’mores celebrates its own national day. What a treat for RVers who plan to be camping on this special day.
At PleasureLand RV, your top-of-the-line RV dealership in Minnesota, there are new and used RV’s, travel trailers, utility and cargo trailers, and even rentals in stock that can get you to a local campground to make your own s’mores over the campfire.
S’mores History
According to The Hershey Company* – experts in all things chocolate – the s’mores recipe made its debut in the Girl Scout handbook in 1927 and has been a favorite treat ever since. From Hershey, the company produces “enough Hershey’s Milk Chocolate bars to make 746 million S’mores annually.”
That’s a lot of chocolate. Hershey’s also noted “Americans buy more than 90 million pounds of marshmallows,” so it’s obvious s’mores deserve their own special day.
S’mores are one of the easiest treats to make using a campfire or even a microwave. If you’ve never had the experience of creating this mouth watering treat, follow these simple tips of how to make s’mores.
Things you’ll need include Hershey’s Milk Chocolate, a bag of marshmallows, graham crackers, and wooden sticks or skewers to roast the marshmallows.
Break one graham cracker in half. One half is the top, the other the bottom of the s’more.
Break the Hershey’s Milk Chocolate bar into individual squares of 2 squares each.
Place the chocolate on one of the cracker halves.
Place a marshmallow on the stick or skewer and toast it till it’s light golden and mushy. Turn the skewer to get all sides of the marshmallow roasted.
Place the roasted marshmallow onto the graham cracker with the chocolate.
Place the other half of graham cracker on top of the marshmallow, press firmly and gently pull the skewer or stick out of the marshmallow.
Let the s’more sit for a minute or two allowing the hot marshmallow to melt the chocolate and cool a little.
Press the crackers together, one more time, then enjoy the goodness.
Enjoy the day at your local campground or RV park, but, before heading out, have your recreational vehicle serviced to ensure everything is running as it should. The experts at PleasureLand RV can handle any problems and have you on your way to enjoy National S’mores Day with friends and family.
Need a summer vacation idea? Try camping in your RV! Camping is great way to see the country, gain experience andexercise. There are dozens of campgrounds throughout Minnesota. However, only few have been ranked the top spots according to tripleblaze.com. Here are the top five based on average rating and number of reviews.
The first on their list is Flour Lake Campground. It is nestled on the quiet shore of 352 acres on the lake of the same name. The area is home to a variety of wildlife including moose, beavers, ducks, bald eagles and bears. There are sites for tent only camping as well as a place to park your RV. The RV campsites range in size from 30 feet to 73 feet for extra space. All are back-in only. This campground is pet friendly and is great for fishing and hiking alike.
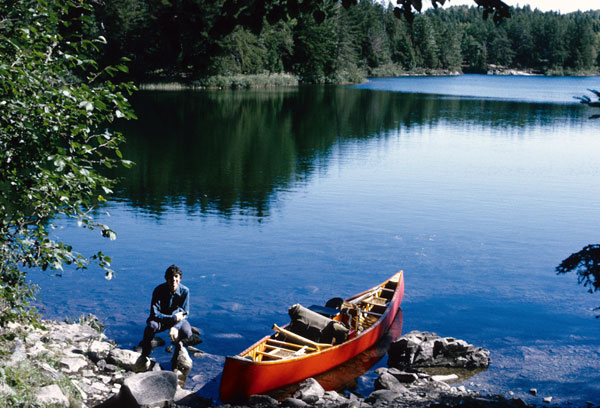
The second on their list is Stony Point. This breathtaking campground is settled on the banks of Leech Lake in the heart of the Chippewa National Forest. Leech Lake is the third largest lake in the state of Minnesota and home of trophy-sized perch, bass and northern pike. It is also a great area for canoeing or boating.
Fall Lake makes number three for them. This campground is located within the Superior National Forest close to the United States and Canada border. The forest spans 150 miles and is comprised of 3 million acres. With hiking, swimming and fishing, there is much to do at this family-friendly campsite. There are several local events happening nearby including City of Ely’s July 4th fireworks, the Blueberry Festival which happens the last weekend in July, and the Harvest Moon festival.
Leech Lake Rec area made it to the number four spot. This area encompasses 14 natural lakes with over 300 miles of shoreline. They have numerous scenic hiking trails as well as boating and canoeing amenities. Dozens of wooded campsites are yours to choose from here at this spectacular site.
Finally, the Itasca State Park finishes the list of top five. This is the oldest State Park in Minnesota. It is over 32,000 acres and holds more than 100 lakes. There are over 200 drive-in sites for your RV in two separate campgrounds. The park has nearly 50 miles of hiking trails and 16 miles of paved bike trails. They also offer rentals for all of your sport needs.
So pack up your campers and head out for a fun-filled summer vacation. If you have time, visit two or three! There are many beautifully kept campgrounds near the northeast border of the state. And remember to come by Pleasureland RV for all your recreational vehicle needs.
The phrase “going green” means different things to different people. Broadly put, going green is the process of changing one’s lifestyle for the safety and benefit of the environment. As Minnesota RVers, we spend a lot of time out in the environment. It’s clear to see that RVers love the outdoors and nature, but sometimes it’s not so clear to see that we respect it. As an RVer, it’s always important to be mindful of the environment your in and leaving it in a better state than when you first arrived.
The other day, we talked about little ways we can go green in our RVs. After all, on top of helping the environment, we’re helping our finances, as well. With April being the Earth Day month, I thought I’d share a few more tips for going green.
Water Heater. When you aren’t using your water heater (at night for example), turn it off. If you can, try to time out your showers and dishes. This one may be a little difficult for some, so just try and turn off the heater as much as possible.
Shade. Try to park your vehicle in the shade where you can during the summer and spring months. You’d be surprised at home much it helps with your A/C usage.
Organics. Use organic bug sprays and sunscreens. These are better for both you and the environment.
Dish Towels. Reduce your paper towel usage by using dish towels.
Lights. Switch to LED lights everywhere possible (i.e. cabin lights, flashlights, etc.). You could also try using motion sensor lights or timers for our outdoor lights when you’re at a campground.
Remember Minnesota, if we want our future generations to be able to enjoy the same Earth we enjoy now, we have to take care of it. For more ideas on how to go green, call Pleasureland RV.
As an RVer in Minnesota,there are going to be times when we may drive through the night to reach our destination. Others find driving their RVs, travel trailers and fifth wheels during the night hours easier because there’s roughly 60 percent less traffic. The crazy thing is, though, that while there is 60 percent less traffic on the road, more than 40 percent of fatal car crashes occur during the night according to SeriousAccidents.com. This is probably due to the fact that an estimated nine out of ten drivers base their decisions on what they see. Even though we can see with some light at night, headlights and other lights along the road can really play tricks on you.
A friend and I were driving through a rural area a few years back at night and I’ll never forget when he slammed on his brakes out of nowhere. There weren’t any other vehicles close to us, so I assumed he was avoiding hitting an animal. Turns out, his eyes played a trick on him and he thought a motorcycle, which was several miles down the road from us at the time, was heading straight for him. Has anything like this ever happen to any of your while driving your RV through rural Minnesota or surround states?
Though we can’t really control what our minds perceive during these hours, we can try to prevent our mind playing tricks us at night. There are some really excellent tips out there for driving your RV during the night hours. Several of them revolve around out headlights along including:
Turn them on an hour before dusk and and leave them on until an hour after dawn. Some RVers prefer to leave their headlights on all of the time, and that’s fine, too.
Check to make sure that your headlights are aligned. If not, your coverage may be decreased and you might also blind oncoming traffic.
This is a general rule, and one of my biggest pet peeves: brights. Our bright lights are a wonderful thing, and I recommend using them whenever you can. However, it’s imperative that you switch to low beams at the sight of another vehicle! I know sometimes it’s easy to forget, especially on though rural, two-lane highways, but try to make yourself conscious.
When driving at night, you should be more alert. This is especially true on the weekends. It’s a known fact that the majority of drunk-driving-related accidents occur on the weekend. So be wary during these nights especially from 1-3 a.m. On top of worry about the other drivers out there, you need to also worry about yourself. Don’t ignore fatigue. Falling asleep at the wheel is another top cause of accidents that occur at night. So please, make sure you are fully rested before heading out in your RV.
Your safety is a top priority at Pleasureland RV. If you have any more questions about driving at night, don’t hesitate to give us a call or swing by one of our four Minnesota RV dealerships.
Though many people choose to winterize their RVs or head south for the winter, I know there are some of you out there who absolutely love RVing during these months. If you’re new to the RV world and you are planning to do some RVing this winter, staying warm will be key to ensuring you have a great time. After all, no one wants to spend their trip bundled up and shivering. For the most part, your RV furnace will do the job. But it’s always good to have a back up plan, like a portable heater, if something goes wrong and the furnace stops working.
Portable heaters have many advantages for RVers. There typically pretty small and can easily be stored away . They are great at quickly and quietly heating up a room in your RV without using too much energy. Be sure to shut off the room you are heating from the rest of the RV, though, to contain the heat. I like to use a portable heater during the night so I don’t have to burn through the battery- or generator-powered furnace. So before you go to sleep, you can turn off the furnace, close your bedroom door and sleep soundly and warmly. They are also great for those chilly days and nights when you want to sit outside and enjoy nature.
One of my favorite portable heaters is the Mr. Heater Portable Buddy. Don’t be fooled by the name, this little guy is capable of heating up to 200 square feet and has a fold-down handle for compact storage. It also has an automatic low oxygen shutoff system and an accidental tip-over safety shutoff. You can find it for about $100 at Wal-Mart and even cheaper at online stores like Amazon.com.
A word of caution, though… if you plan on using a portable generator, be sure you understand how to use it. For instance, if you plan to use it in the bedroom, be sure to set it somewhere away from anything that can ignite. This includes your bedding, clothing and curtains. As I mentioned before, these little portable heaters give off a lot of heat. I’ve heard of the rubber on people’s shoes even melting from propping their feet up too close to the heater. Try to always keep the heater at least five feet away from yourself. If you close off the rest of the RV, I promise the room you are heating will quickly become toasty with the heater sitting in the far corner. Stay safe and warm out there, Minnesota winter-loving RVers!
The tread of your RV’s tires plays a crucial role in the performance of your vehicle as well as its safety. Knowing how to inspect the tread of your tires yourself and being able to keep a mindful eye on their condition is extremely important, especially for those of us who are avid Minnesota RV travelers.
In order to prevent dangerous occurrences while driving, such as skidding and hydroplaning,tires must be replaced when the tread is worn down to a certain amount. All tires produced since 1968 have a built in tread wear indicator already in them to help you see any signs of tread concern, before it becomes a much larger issue. These ‘wear bars’ look like narrow strips of smooth rubber across the tread and will begin to appear when tread is wearing down. When tire use degrades the tread depth to 1/16″ (1.5mm), smooth 1/2″ (13mm) bands seem to rise toward the surface. This indicates that these tires should be replaced. Many states have laws making this replacement mandatory once the tread is worn down to 1/16 of an inch. These wear bars are the first sign that your tires need replacing.
Visually check your tires for signs of uneven wear before every RV road trip. You may have irregular tread wear if there are high and low areas or unusually smooth areas. Tire trouble, if gone undetected, can shorten your RV tire’s lifespan. Unforeseen issues with your tires can only lead to money down the drain. Trouble detected can also give you clues to other areas of your RV that may need attention. Being aware of what to look for and knowing how to test your tire’s tread is RVing in the smartest way.
Hey Minnesota RVers, have you seen the signs at filling station near the gas pumps that tell you not to use your cell phone while pumping gas? Recently I received an e-mail from a friend stating the dangers of cell phone use while filling up.
Safety Alert! There are several reasons why cell phones aren’t allowed in operating areas, propylene oxide handling and storage areas, or propane, gas and diesel refueling areas. For one, they can ignite fuel or fumes. Mobile phones that light up when switched on or when they ring release enough energy to provide a spark for ignition. Mobile phones should not be used in filling stations, or when fueling lawn mowers, boat, etc. In fact, mobile phones should not be used, or should be turned off, around several other materials that generate flammable or explosive fumes or dust including solvents, chemicals, gases, grain dust, etc. The following is an e-mail I received stating the rules of being safe at the pump and some interesting facts about a study done regarding incidents where fires resulted in not following proper refueling etiquette.
To sum it up, here are the Four Rules for Safe Refueling:
Turn off engine.
Don’t smoke.
Don’t use your cell phone – leave it inside the
vehicle or turn it off.
Don’t re-enter your vehicle during fueling .
Bob Renkes of Petroleum Equipment Institute is working on a campaign to try and make people aware of fires as a result of ‘static electricity’ at gas pumps. His company researched 150 cases of these fires.
His results were very surprising.
Out of 150 cases, almost all of them were women.
Almost all cases involved the person getting back in their vehicle while the nozzle was still pumping gas. When finished, they went back to pull the nozzle out and the fire started, as a result of static.
Most had on rubber-soled shoes.
Most men never get back in their vehicle until completely finished. This is why they are seldom involved in these types of fires.
Don’t ever use cell phones when pumping gas.
It is the vapors that come out of the gas that cause the fire, when connected with static charges.
There were 29 fires where the vehicle was re-entered and the nozzle was touched during refueling from a variety of makes and models. Some resulted in extensive damage to the vehicle, to the station, and to the customer.
Seventeen fires occurred before, during or immediately after the gas cap was removed and before fueling began.
Mr. Renkes stresses to NEVER get back into your vehicle while filling it with gas. If you absolutely HAVE to get in your vehicle while the gas is pumping, make sure you get out, close the door TOUCHING THE METAL, before you ever pull the nozzle out. This way the static from your body will be discharged before you ever remove the nozzle.
When you think about making breakfast in your RV that is both simple and quick and doesn’t require a whole lot of cleanup, generally only a few things come to mind. You have things like cereal, toast, maybe a breakfast bar… but having something a little more complicated (like an omelet) usually doesn’t sound too appealing given the space to work with in an RV. Get ready though, because those mornings of omelet free breakfasts on the campgrounds are over! No need to dirty up your skillet or try and master that folding technique for the perfect omelet shape. Now you can have the perfect omelet that comes right out of the bag. Not just any bag of course, but straight from your trusty Ziploc bag. (Yields one omelet.)
Ingredients
2 eggs
2 slices of ham, chopped (optional)
½ cup shredded cheddar cheese
1 tablespoon onion, chopped (optional)
1 tablespoon green or red bell pepper, chopped (optional)
2 tablespoons red tomato, chopped (optional)
2 fresh mushrooms, sliced (optional)
1 tablespoon chunky salsa (optional)
Directions
Crack open two eggs and put them into a sandwich size Ziploc baggy. Press most of the air out of the bag before sealing. Shake or squeeze the bag in order to beat the eggs.
Open the bag and add the desired ingredients above.
Squeeze out as much air as you can from the bag and reseal.
Bring a large pot of water to a boil. Place the bag into the water and let boil for 13 minutes.
Open the bag and let the now cooked omelet slide out onto a plate. (Your omelet should slide or roll out of the baggy with ease.)
Know of any other simple breakfast ideas to make in your RV? Share the wealth!
I ran into a friend of mine who purchased his first RV, a 2002 Forest River Georgetown, at the beginning of the summer. I hadn’t seen him since he made the purchase, and I was dying to know how his first few RV trips had gone. Come to find out… he hadn’t taken his new RV out once! I couldn’t believe it! When I asked him why, he was a little bit reluctant to tell me, but I finally got it out of him. He didn’t know how to back-up and park the RV. At first, I was shocked that this had kept him from using his beautiful, new home-away-from-home. But the more I thought about it, I realized that he was probably not alone with this fear.
If you’re a first-time RV owner, getting out on the road can seem a little scary. After all, RVs drive a lot differently than your average four-door sedan. Whether it’s a motorhome, fifth wheel or travel trailer, there are several things you should know about backing up and parking. I found seven excellent and helpful tips from the Fun Times Guide that I shared with him and would now like to share with you.
7 Tips For Parking & Backing Up RVs
#1 Stop right where you are, when you reach the point where you no longer have clear vision of where you want to go. Never attempt to move into tight quarters, if you can’t see all possible hazards. That is, unless you have someone positioned where they can see the obstructions and they can warn you. Your assistant must be positioned so they can see both you and the possible dangerous situation
#2 Avoid places that are impossible to get into, or nearly so. Don’t blindly pull into an unfamiliar driveway, dead end street, or parking lot that doesn’t have a second exit.
When you pull into shopping areas, stay out near the perimeter and chose your parking spot so that you can simply pull ahead to leave. Don’t go down the aisles of parked cars — because you’re likely to be making a sharp corner in a confined spot, when you get to the end of the aisle.
#3 Learn to rely on your mirrors. An RV isn’t like the family sedan. Looking over your right shoulder and down through the center of your motorhome or tow vehicle to back up won’t work. You have to rely on the image in your side mirrors.
Straight vehicles, without trailers, are pretty easy to back up — because a properly adjusted mirror should give you a view of the side all the way back to the rear bumper. As long as you can see daylight between your RV and the obstruction, you’re good.
#4 Set up temporary parking & driving patterns, using safety cones or milk jugs. Head out to a closed supermarket parking lot and set up your cones like a driveway or camping spot. Practice backing into those spots until you can do it without hitting any cones.
#5 Practice blind side parking. If your luck is like mine, more often than not you’ll end up backing into a campsite from the blind side with your trailer.
The blind side is the right (passenger) side of your vehicle. It’s known as the blind side because at some point, as you’re turning, your tow vehicle will no longer be in a straight line with your trailer. You will no longer be able to see what’s happening on at least one side of your RV. This is where an outside helper is essential to keep you posted on your progress.
A trick I’ve used to increase my range of vision when backing around corners is to readjust my side mirrors at a different angle as I start making my turn. Most motorhomes, and many trucks, have electrically adjustable mirrors that you can control with a switch from the driver’s seat. Adjusting the mirrors, as you proceed through the corner, will give you a clear view most of the way.
#6 Never rely on rear vision cameras, because they’re pointed down toward the ground behind you and don’t give you a broad enough picture. There are overhead obstacles to be concerned about too. Low-hanging branches, building overhangs, even sagging power lines can hook your RV. By far the best way to back into a tight spot is to have a person (or even 2) outside watching all the angles. Maneuver with your windows down, and instruct your helper to talk loud enough so you can clearly hear them. A set of inexpensive walkie talkies can be very handy for just this purpose.
#7 Use extreme caution when backing a motorhome with a tow vehicle attached. In fact, backing up with a toad (car) on a tow bar more than a foot or so is impossible. Since the steering axle of the car being towed is free to track wherever it wants, as soon as you start backwards it will immediately turn the wheels, causing extreme pressure to be applied to the front end components of your vehicle in tow.
Damage can occur, because you will be skidding the car sideways, with the front wheels turned all the way to the stops. If you need to back up when towing a car, just unhook the car first. After you’re situated where you can go forward again, re-hook the tow bar. It’s the only safe way to do it.
Something else that can seem tricky at first is backing into a camping spot (especially if the two spots next to you are both occupied). There is a little trick, though, that some of us RV vets use called The Scoop. Once you nail this technique down, you’ll be pulling into camp spots like a pro. Check out this little illustration video showing exactly how it’s done. If you need any help at all with anything RV-related, don’t hesitate to give us a call or swing by.
Hi, my name is Dan Pearson and I am the Owner of PleasureLand RV Centers based out of St. Cloud, MN. We have three other Minnesota locations to serve all of you RV needs. I look forward to providing you with all your RV information from buying an RV to tips and maintenance. If you would like to contact me, be sure to leave a comment.